Hexo的Butterfly主题使用Algolia搜索
安装插件
在hexo博客的根目录打开Git Bash安装hexo-algoliasearch插件
1 | npm install hexo-algoliasearch --save |
然后查看根目录的package.json文件,查看是否安装成功,出现插件名称就说明安装插件成功

注册Algolia账号
网址:Site Search & Discovery powered by AI | Algolia
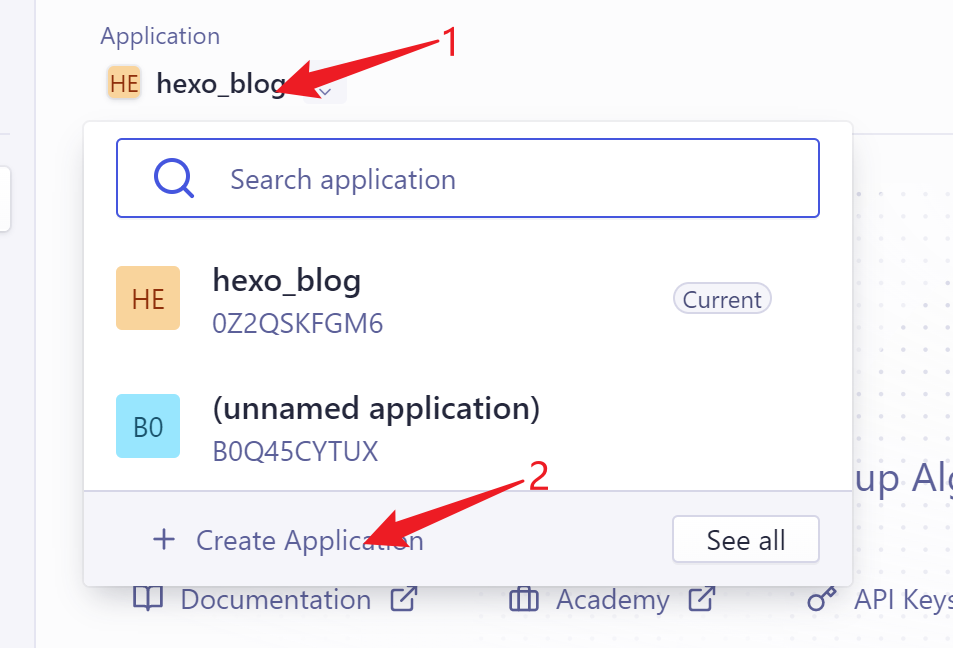
创建应用
打开创建页面
填写应用信息
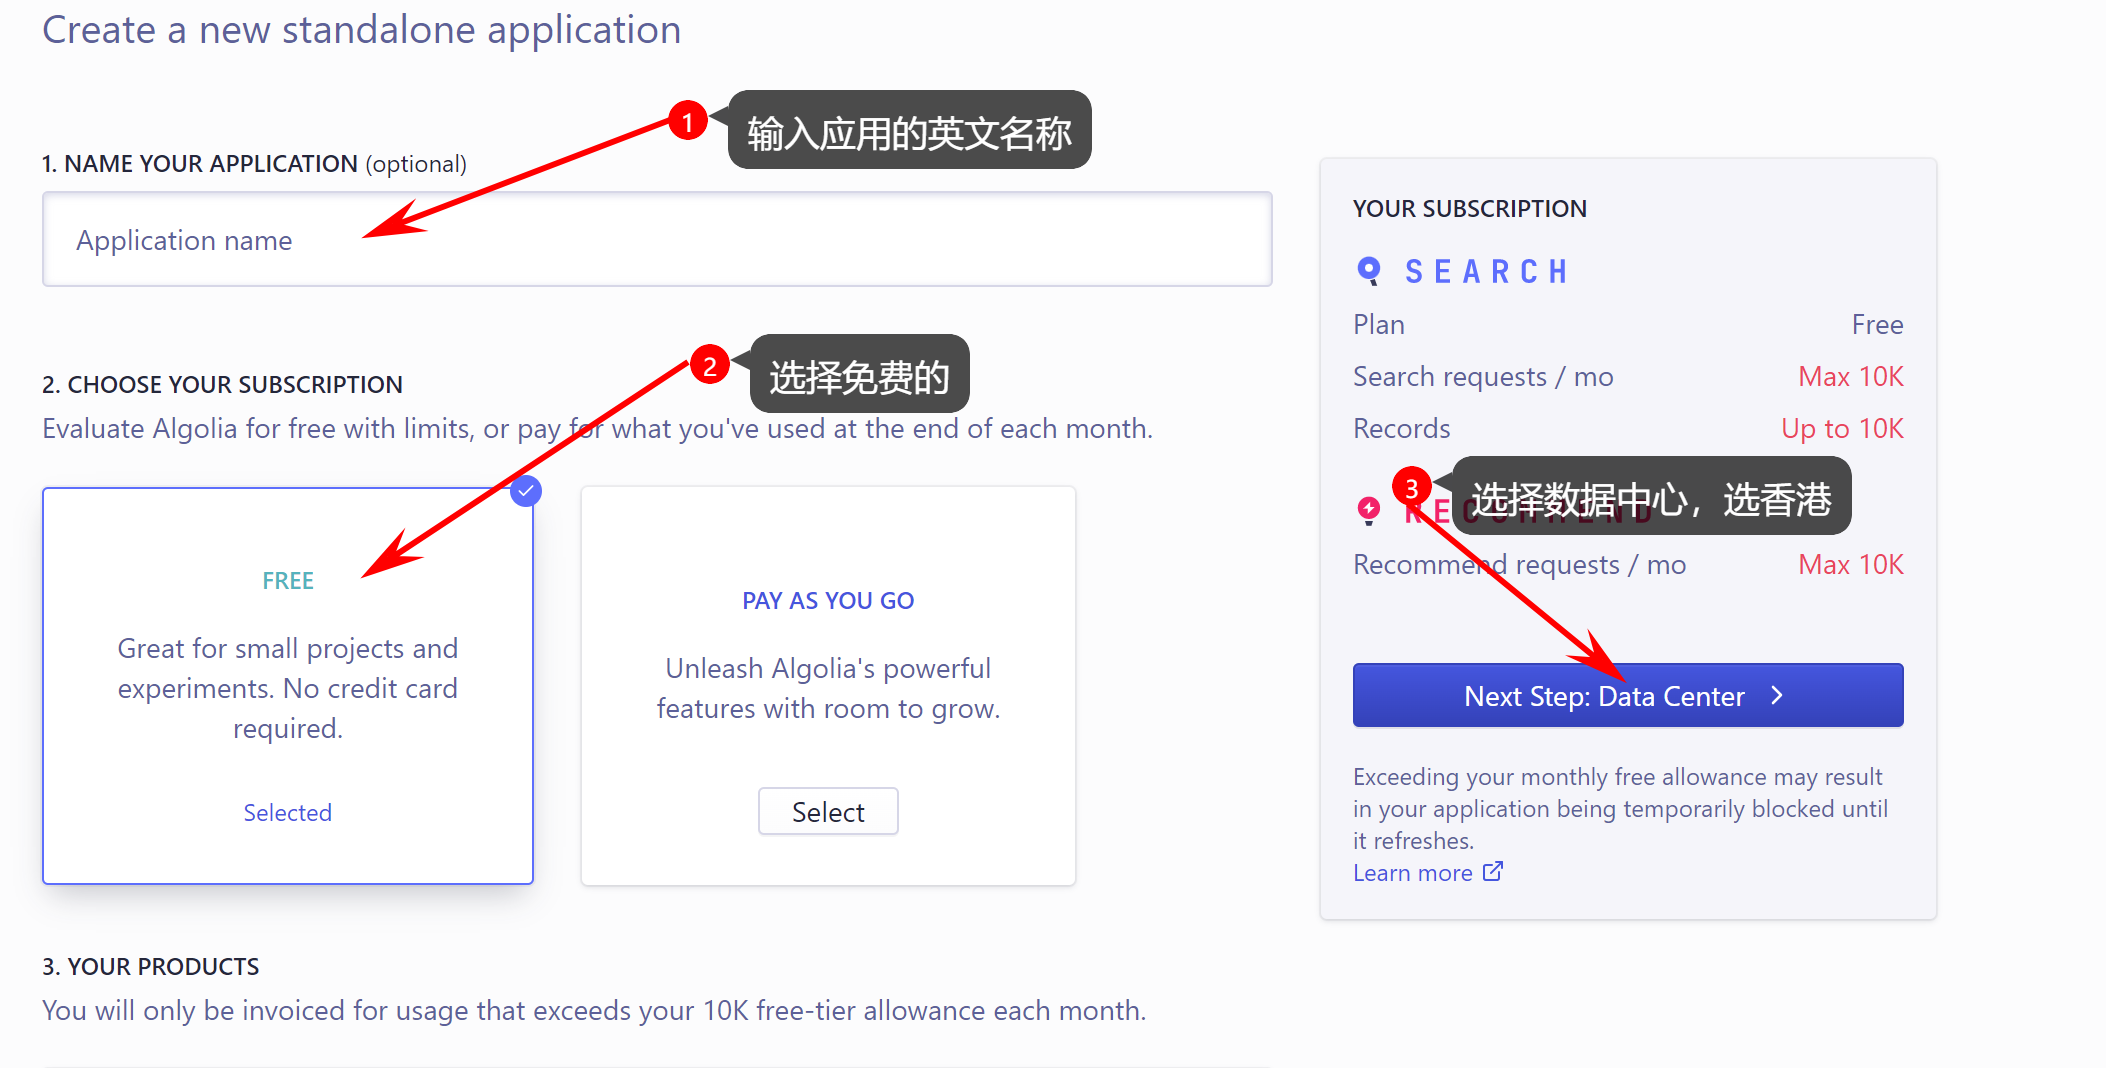
选择相关节点

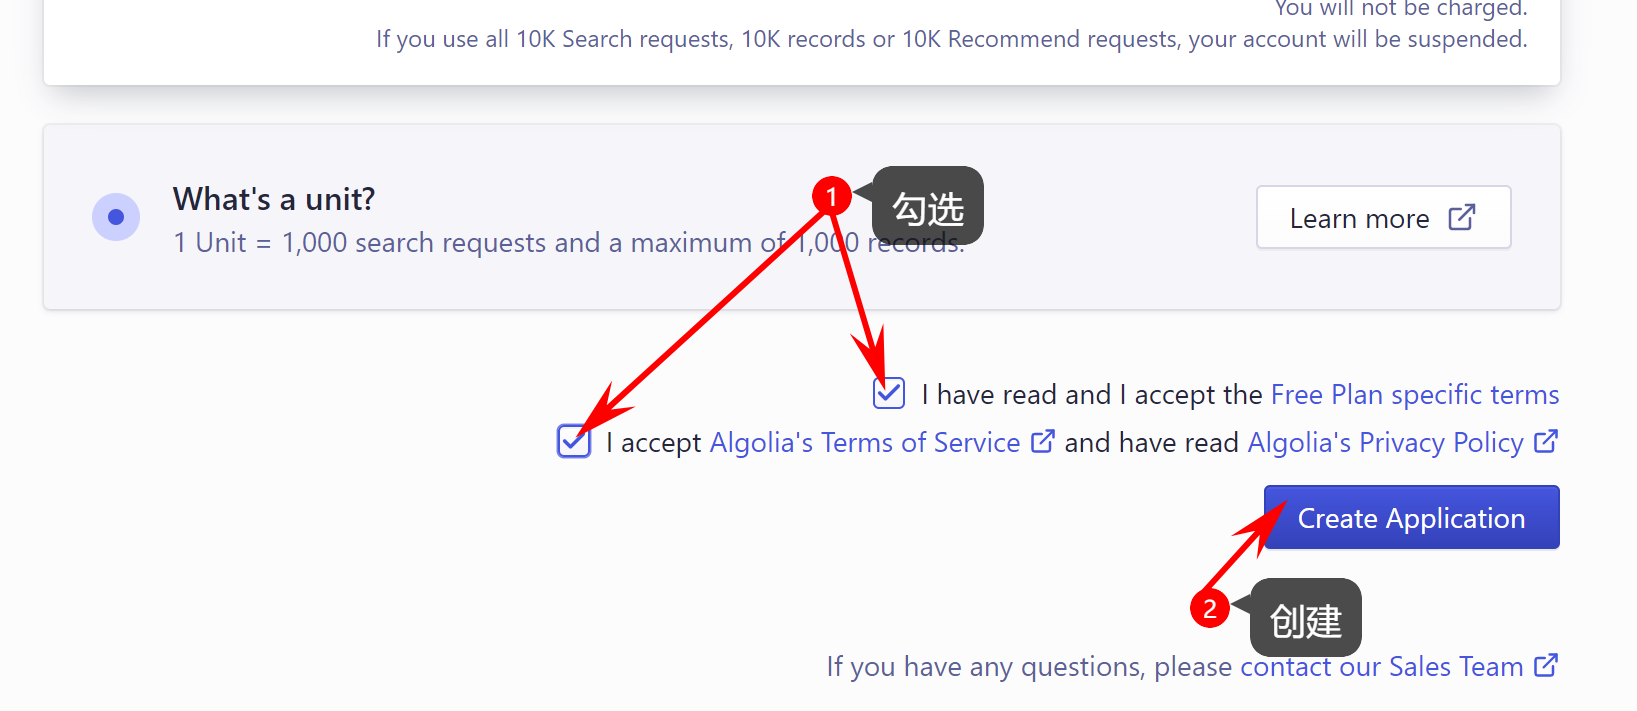
勾选同意
获取API Keys
在控制台主页,选择刚刚创建的应用,查看它的API Keys

获取下图的三个

开始配置
在hexo根目录下的_config.yml配置文件添加以下代码,appId、apiKey、adminApiKey、indexName根据自己的情况填写
1 | plugins: |
修改Butterfly主题的_config.yml配置文件
1 | # Algolia search |
接下来需要将搜索方式设置为按回车键后才搜索,要不然每输入一个字符就实时搜索一次太浪费Algolia的搜索次数了,Algolia的免费次数每个月只有10000次,实时搜索很容易把次数用光,首先打开algolia.js文件,这个文件在\themes\butterfly\source\js\search目录下,在下图位置加入代码:
1 | searchOnEnterKeyPressOnly: true, |

接下来修改搜索框的提示信息,上图横线下的placeholder:后接提示信息,建议直接注释掉该行(使用//注释),直接重写,不建议去修改语言配置文件(在\themes\butterfly\languages目录下)
1 | placeholder: "输入关键词后,按下回车键即可搜索文章..." |
依次执行以下命令
1 | #生成静态文件 |
查看结果
执行启动服务器命令hexo s查看结果,访问网址为: http://localhost:4000/

PS.
执行命令的顺序如下:(不然可能会出现一些错误)
1 | #生成静态文件 |
本博客所有文章除特别声明外,均采用 CC BY-NC-SA 4.0 许可协议。转载请注明来自 LeDao's Blog!
相关推荐


评论