引入Maven依赖
1
2
3
4
5
6
|
<dependency>
<groupId>org.springframework.boot</groupId>
<artifactId>spring-boot-starter-mail</artifactId>
<version>2.1.1.RELEASE</version>
</dependency>
|
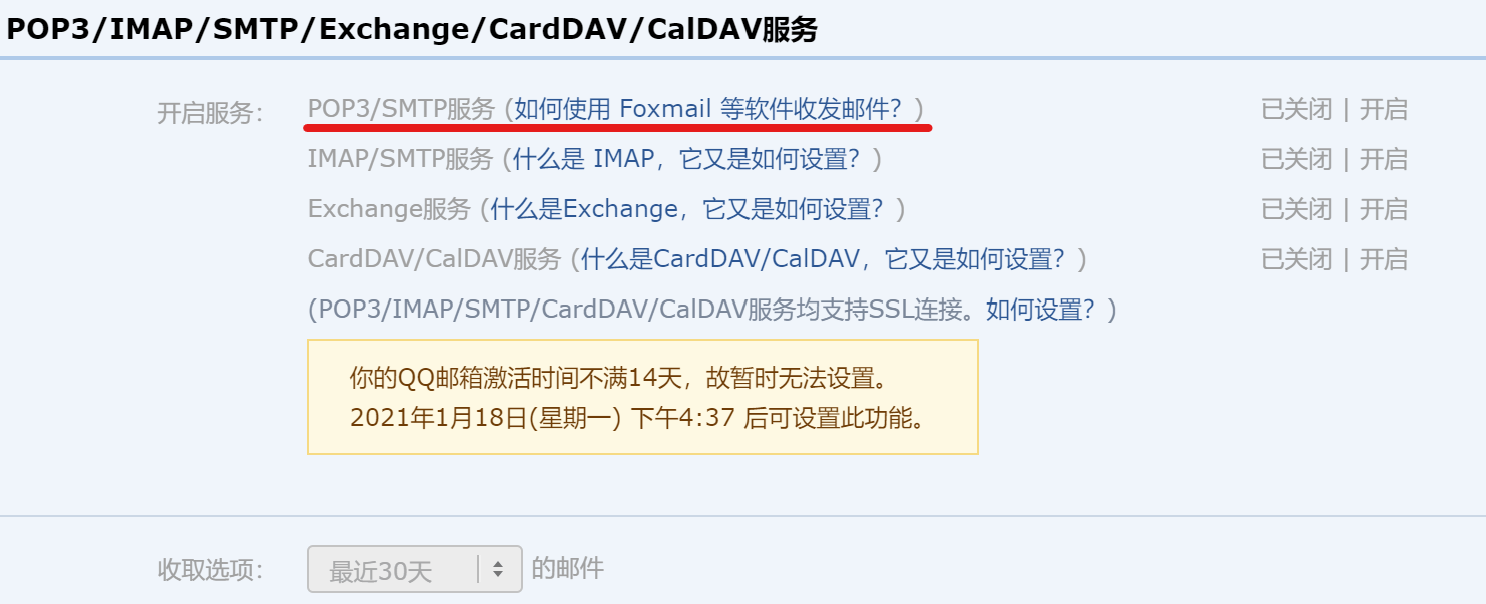
开启POP3/SMTP服务
位置:QQ邮箱首页->设置->账户,然后会得到一个授权码

application.yml文件配置
*****处根据自己的实际情况填写
1
2
3
4
5
6
7
8
9
10
11
12
13
14
15
16
17
18
19
| spring:
mail:
host: smtp.qq.com
username: ****@qq.com
password: ****
default-encoding: utf-8
protocol: smtp
properties:
mail:
smtp:
connectiontimeout: 5000
timeout: 3000
writetimeout: 5000
ssl:
enable: true
|
Java代码
1
2
3
4
5
6
7
8
9
10
11
12
13
14
15
16
17
18
19
20
21
22
23
24
25
26
27
28
29
30
31
32
33
34
35
36
37
38
39
40
41
42
43
44
45
46
47
48
49
50
51
52
53
54
| package com.ledao.controller;
import org.springframework.mail.SimpleMailMessage;
import org.springframework.mail.javamail.JavaMailSender;
import org.springframework.stereotype.Controller;
import org.springframework.web.bind.annotation.RequestMapping;
import org.springframework.web.bind.annotation.ResponseBody;
import javax.annotation.Resource;
@Controller
public class MyController {
@Resource
private JavaMailSender javaMailSender;
@ResponseBody
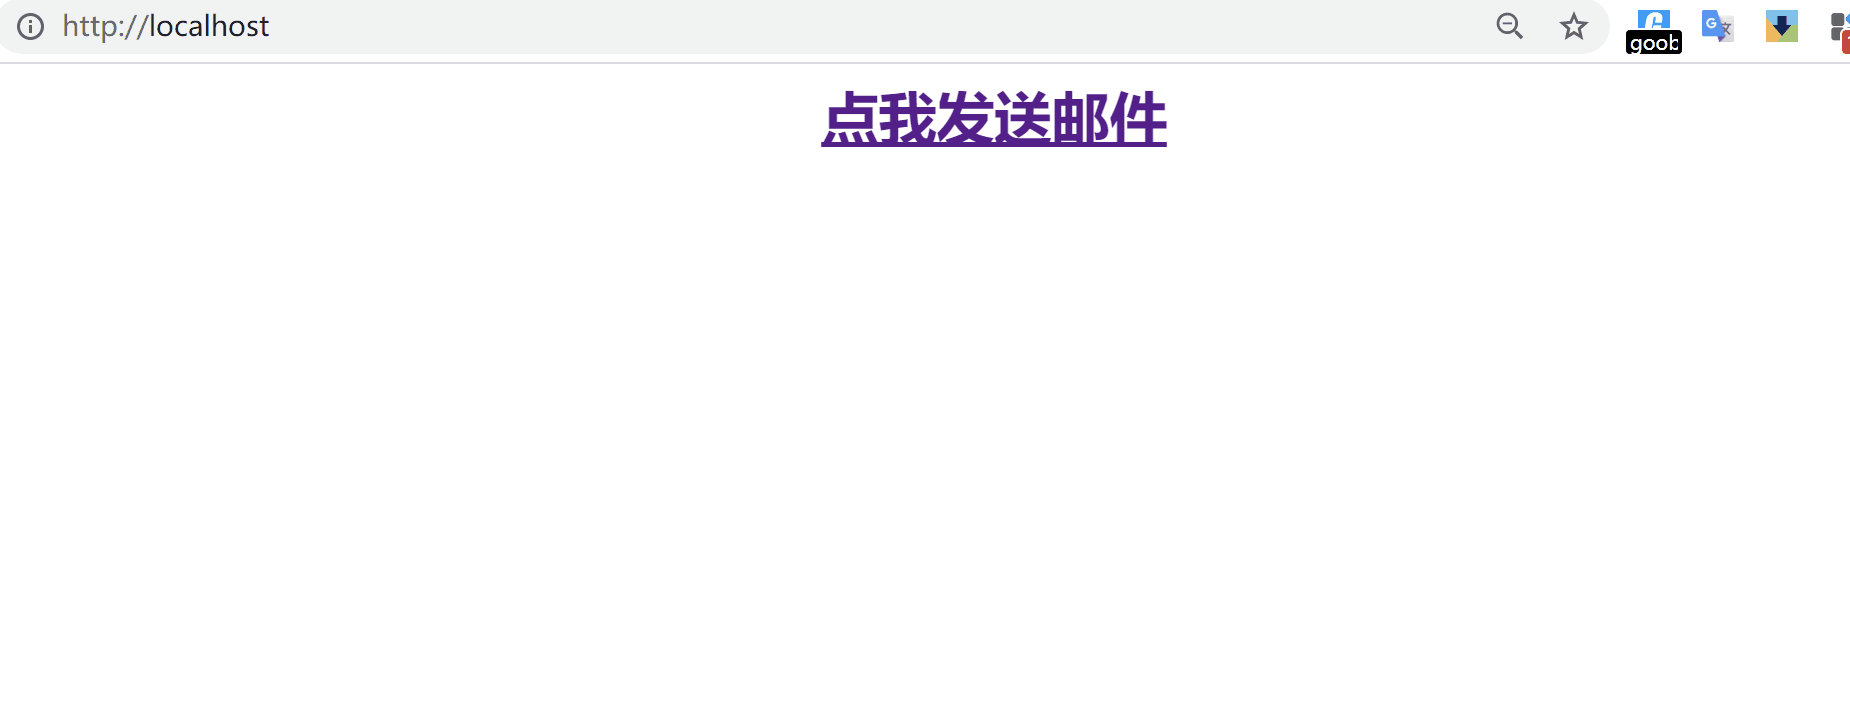
@RequestMapping("/")
public String root() {
return "<h1 style='text-align: center'><a href='/sendMail'>点我发送邮件</a></h1>";
}
@ResponseBody
@RequestMapping("/sendMail")
public String sendMail() {
SimpleMailMessage message = new SimpleMailMessage();
message.setFrom("******@qq.com");
message.setTo("******@qq.com");
message.setSubject("发送邮件测试");
message.setText("111");
javaMailSender.send(message);
return "<h2 style='color:red;text-align: center'>发送成功,请到收件人邮箱查收!!</h2>";
}
}
|
测试与结果
运行项目后,点击发送邮件链接,之后目标邮箱就可以收到邮件了